“I see, I stop, I think, I shot”
In world of high end smart phones and DSLR camera every tom dick and harry thinks he’s become professional photographer. It happened to me in initial days too. Nothing wrong. It was untill I realized by spending more time on field that the images I used to like were not shot on auto mode. Most of beginners shoot in auto mode. He/She doesn’t realize that by shooting in auto mode you are limiting the possibilities of creativity. The moment they see something they start shooting. I still remember asking some “XyZ Photography” about the technical details of image that he had clicked. I got blocked on his profile. That’s when I felt real need to write blog on photography and share whatever little understanding I have of wildlife photography.
I don’t mean to discourage any person/photographers who might be shooting in auto mode. Through series of blogs, I intend to show how deep is the science of photography and why it is one of highest forms of creative art. I want them to come out of auto mode and shoot more creatively. This blog will help all photographers with mobile camera, DSLR or point and shoot to click great images. I though it is better to start with very fundamental of wildlife photography. To start, I will not talk about any technical aspects in this blog. We will keep that for later. So let’s begin
Rule 1: Master your tool and understand its limitation.
No matter what gear (mobile/point and shoot camera/dslr) you use for photography knowing its functionality is everything. You need to know the controls, functions/sub functions. You should know how it will react under different light conditions. You should know limitation of your gear and shoot accordingly. Photography is an expensive hobby. Spice it up with jungle safari it will dry out your pockets. So if you love taking snaps just shot with whatever gear you have at hand. Follow fundamentals and you will get better images with not so expensive gear.
Rule 2 – Handling device and Control your posture
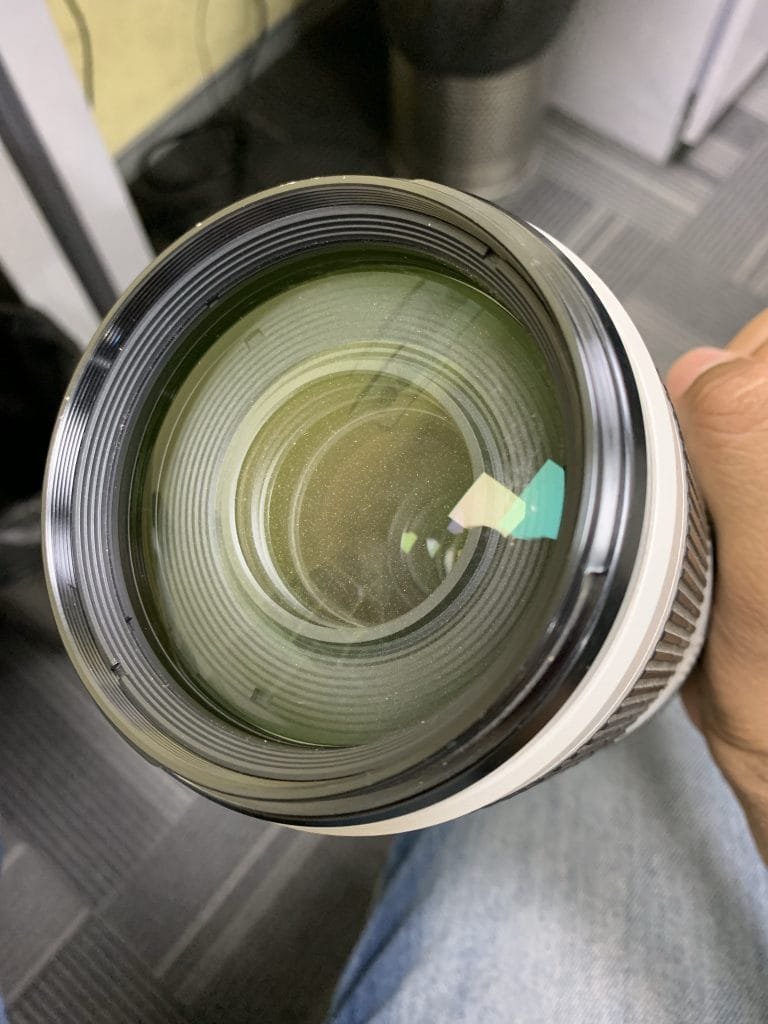
How you hold the camera is first sign of an novince vs expert. Body posture and stability can significantly impact your images. I am testimony to it. It is not unusal for me to get heart beats racing when I see tiger. The thrill of tracking tiger is fun. During my initial days I missed lot of shots cause I didn’t pay attention to my breath. My images came blurred inspite of right setting on camera and posture. The reason was my breath. I found a solution to it. Now I dont shoot till I feel satiated seeing tiger by my eyes before shooting through view finder of camera. Use bean bags, tripods if need be.
Not just that as you become more proficient you will start using better camera and real big lenses. Trust me, you need to be physically strong to handle those rocket launchers. Managing posture becomes difficult. With these lens on full zoom, little shake is enough to distort the entire image.
(c) Shirish S Bhakare
Rule 3 – Study light, colors and change shooting angles
I’m sure we all have studied color spectrum. White is all encompassing color where as black is absence of all colors. Knowing how basic colors (RYG) mix and knowing importance of gray color is critical is photography. Biggest impact on your photographs will be that of light. It can make your image stunning or absolutely rubbish. You can have back lit, side lit, high key low key images. They are all based on play of light.
(c) Shirish Bhakare
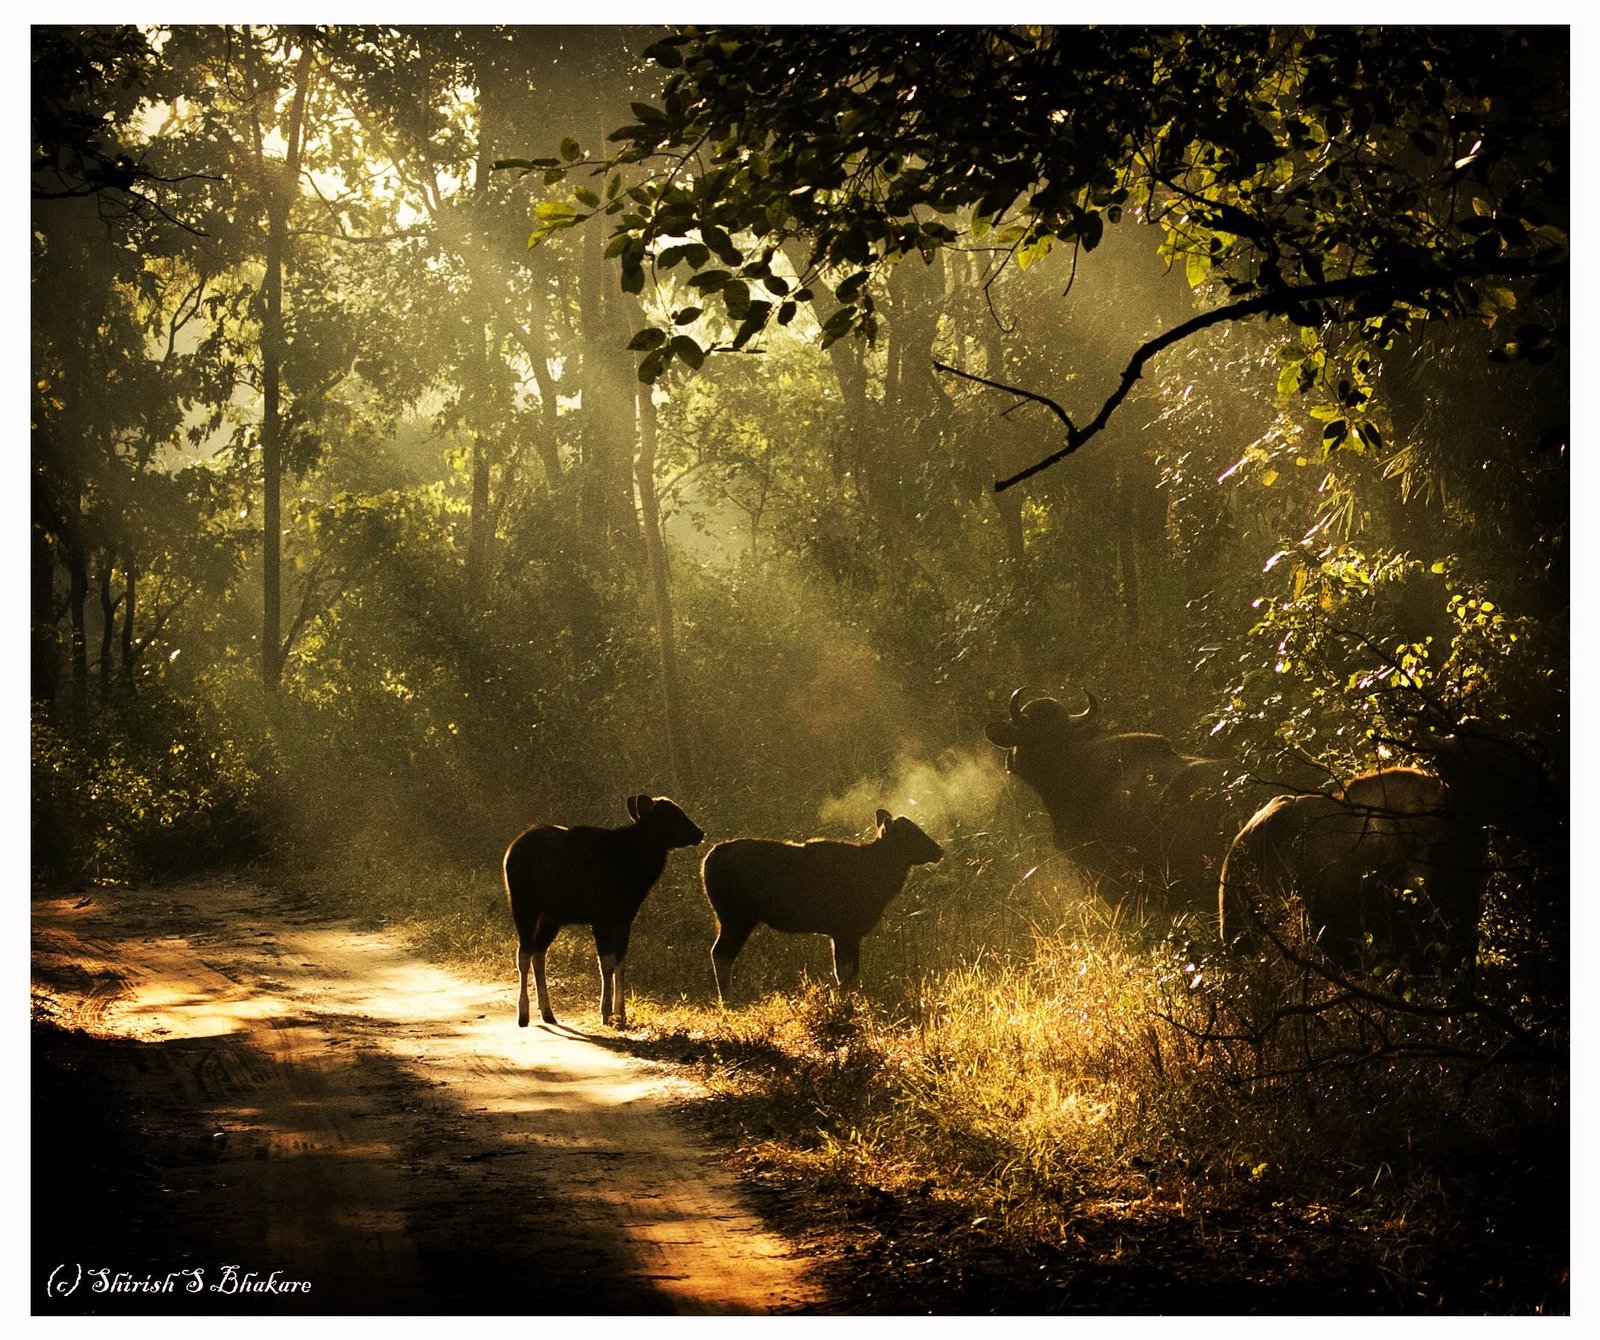
Ideally light should be sourced from behind you and hitting subject you want to shot. I’m sure you’ve seen this in photo studios. But in wildlife photography you can’t set that, you have to shoot with what light you get.
Kanha Dec 2019
(c) Shirish S Bhakare
Another important aspect is try changing angles and frames (Vertical/horizontal). Different angles means different incident angle of light, different background and hence different impact on the image.
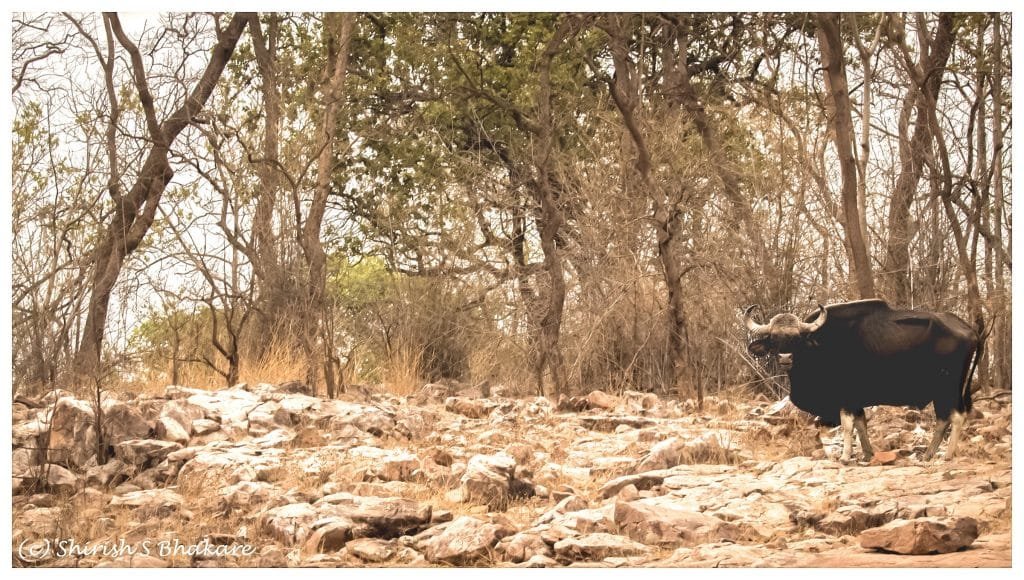
Tadoba March 2019
Rule 4 – Disturbance in picture
Many begginers focus too much attention on subject and forget objects around, behind and foreground. This is disturbance. Disturbance are nothing but things in image which stand out prominently and divert attention from subject. For example a twigs while shooting a bird or over exposed meadows while subject is in shade of tree.
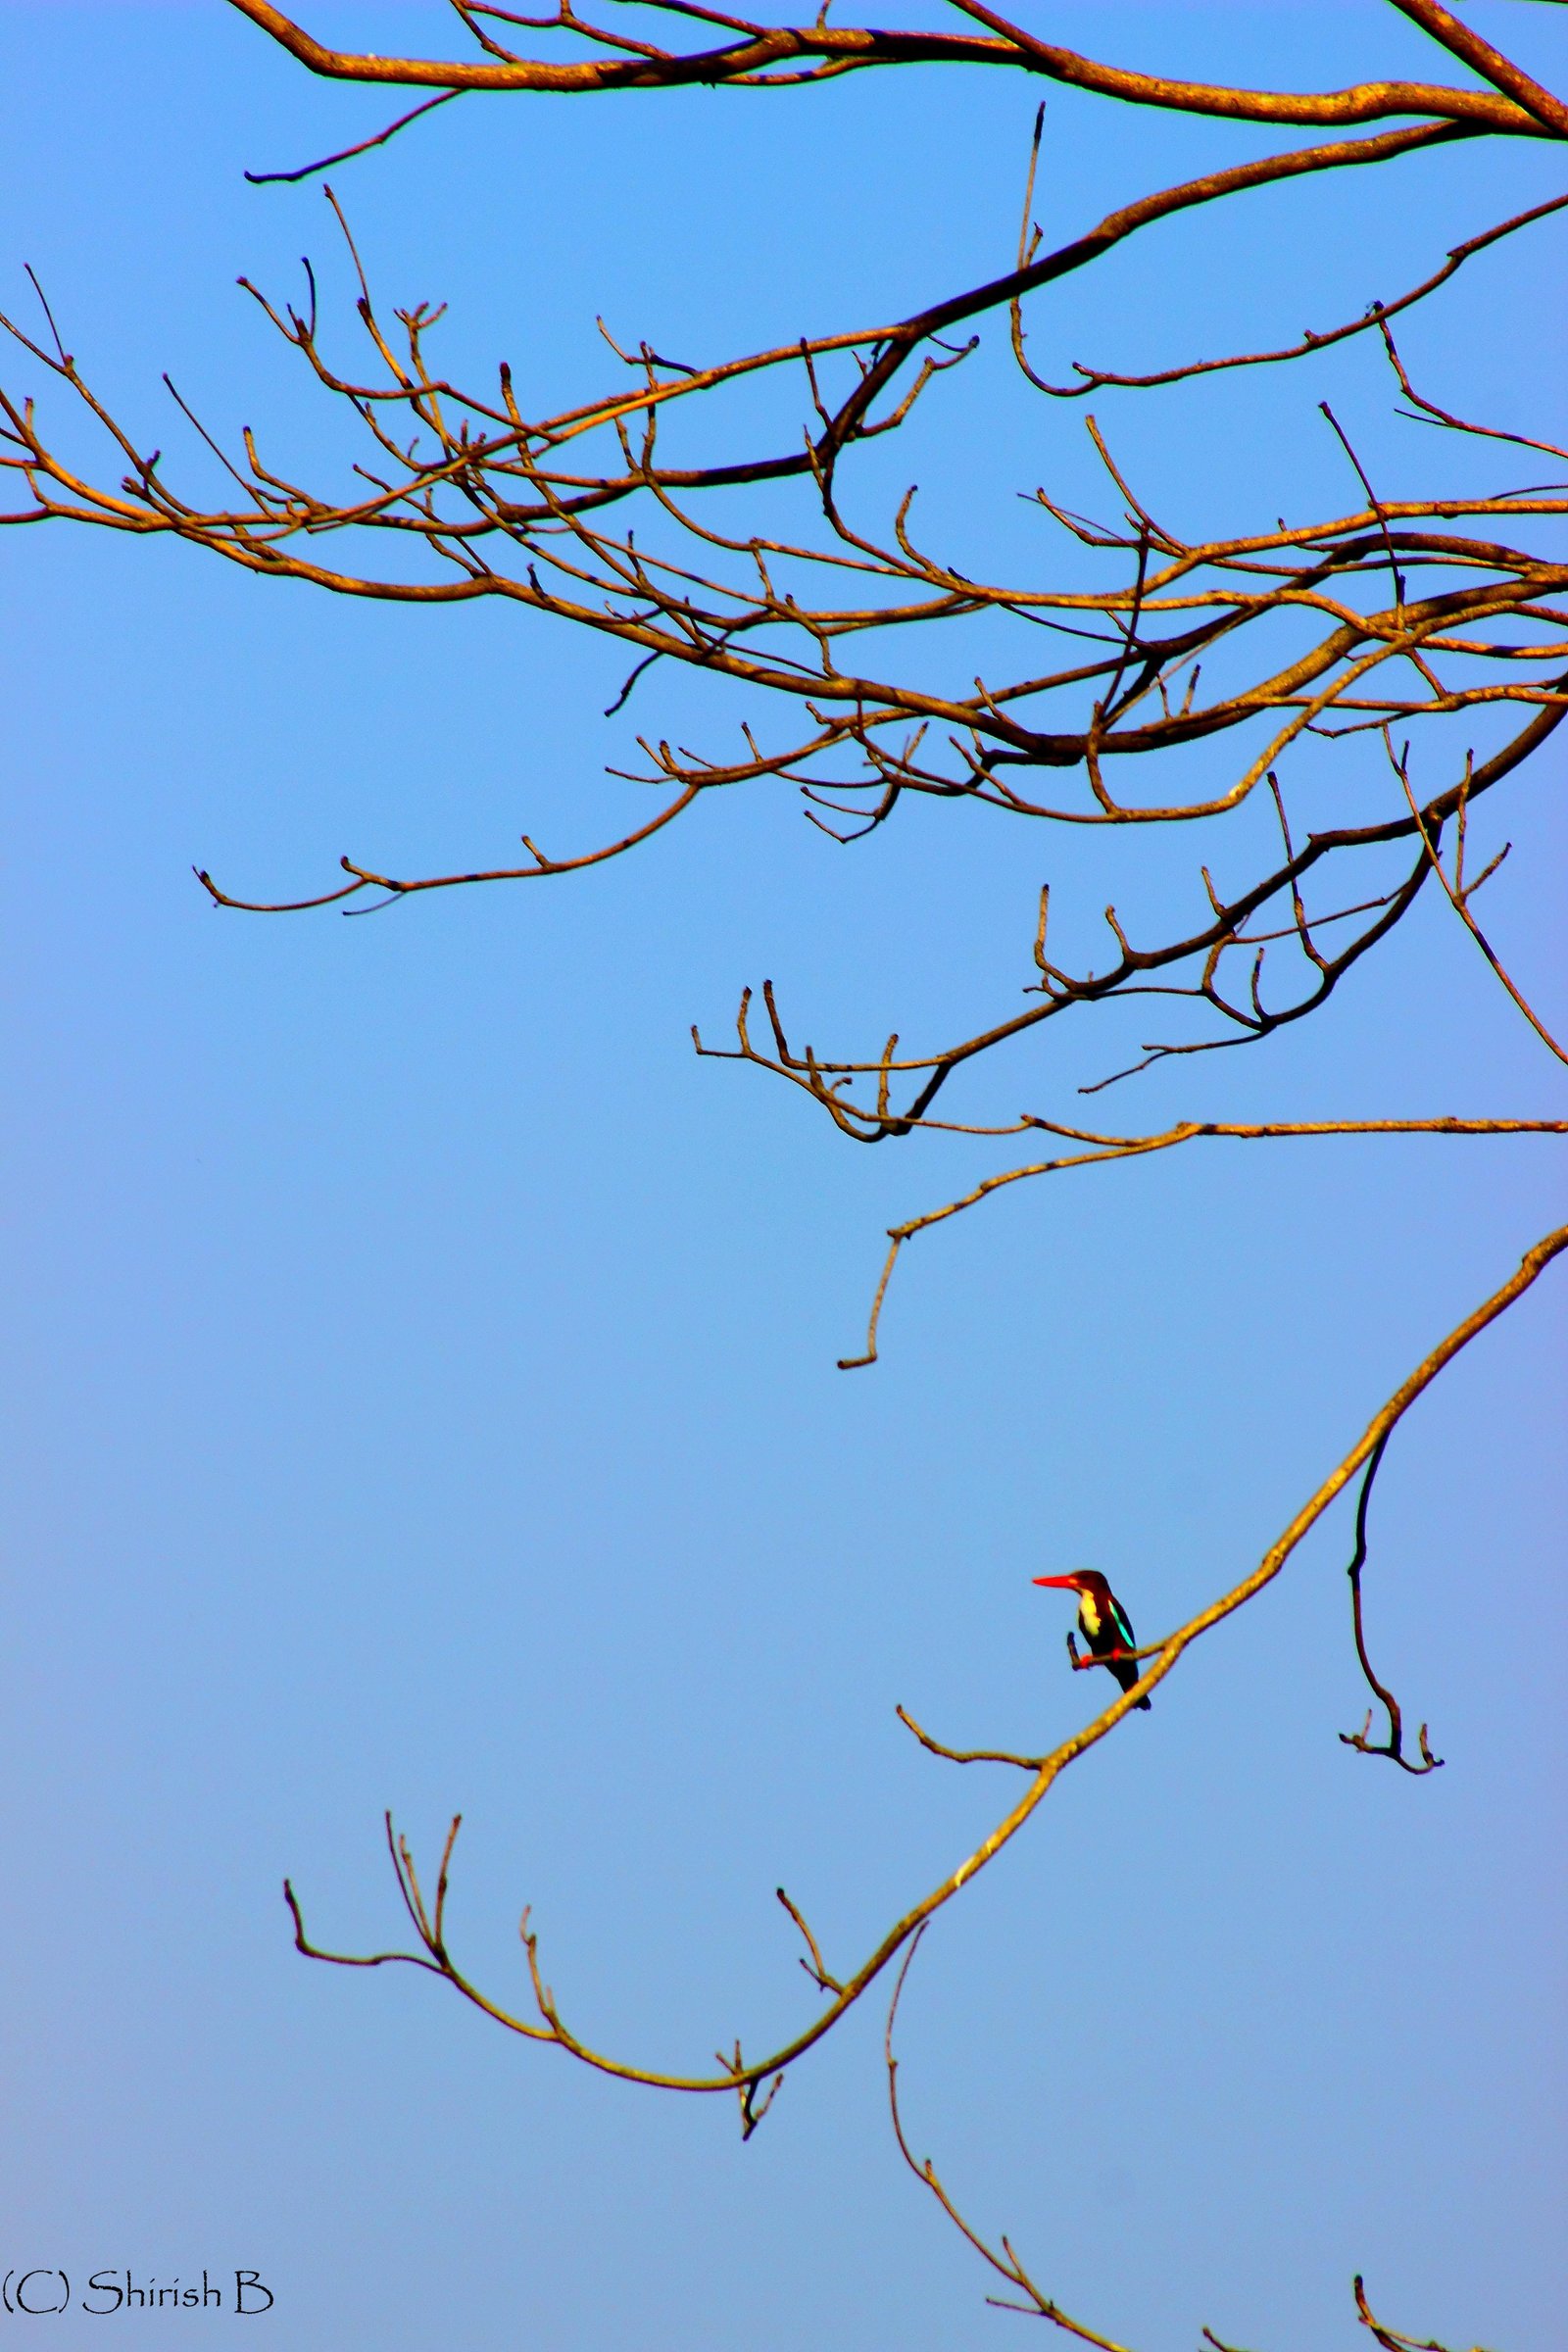

(c) Shirish S Bhakare
Rule 5 – Compostion of image
How you shoot has some basic guidelines. Most of begginers don’t even think and just start shooting the moment they see a tiger. Let me introduce to few basic rules of composition.
- Rule of 1/3rd: Divide your view finder intro grid of 3*3 by drawing virtual horizontal and vertical lines. The intersection point of these line is where your subject should be.
- Spaces: Empty spaces around image can have great impact or can great sense of depth for animals universe. For example animal walking in frame. if eagle is sitting on top tree looking to right, I will try to have more blank space on right.
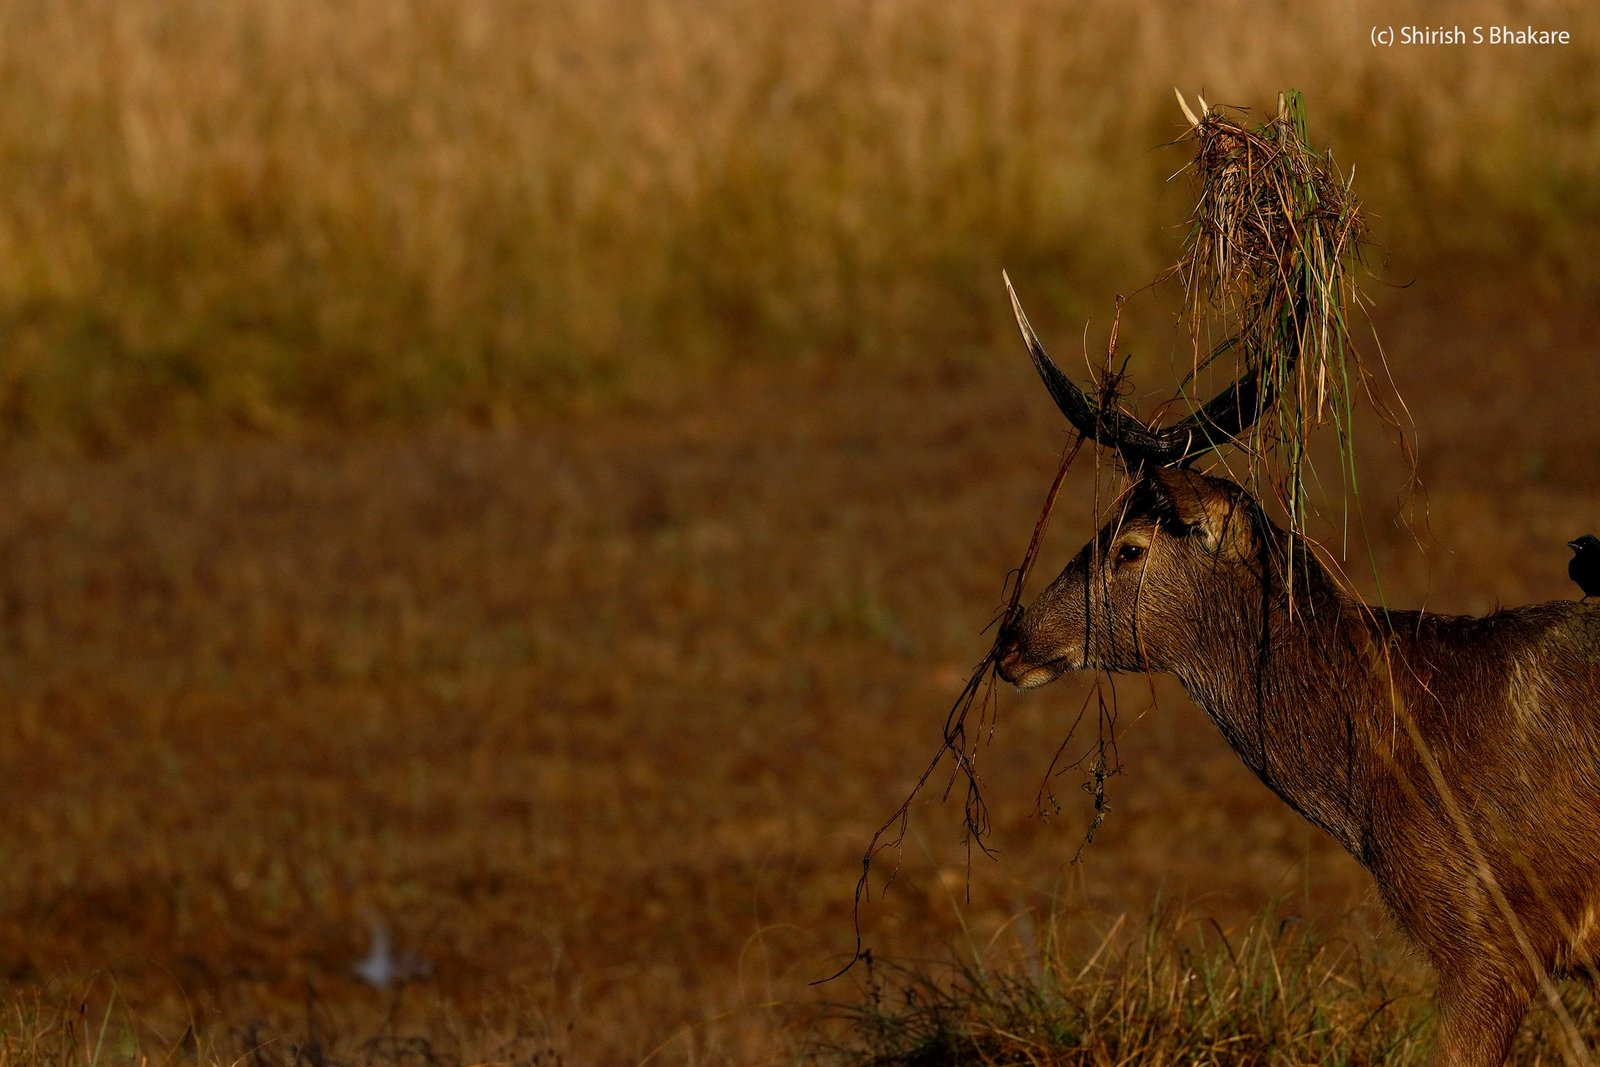
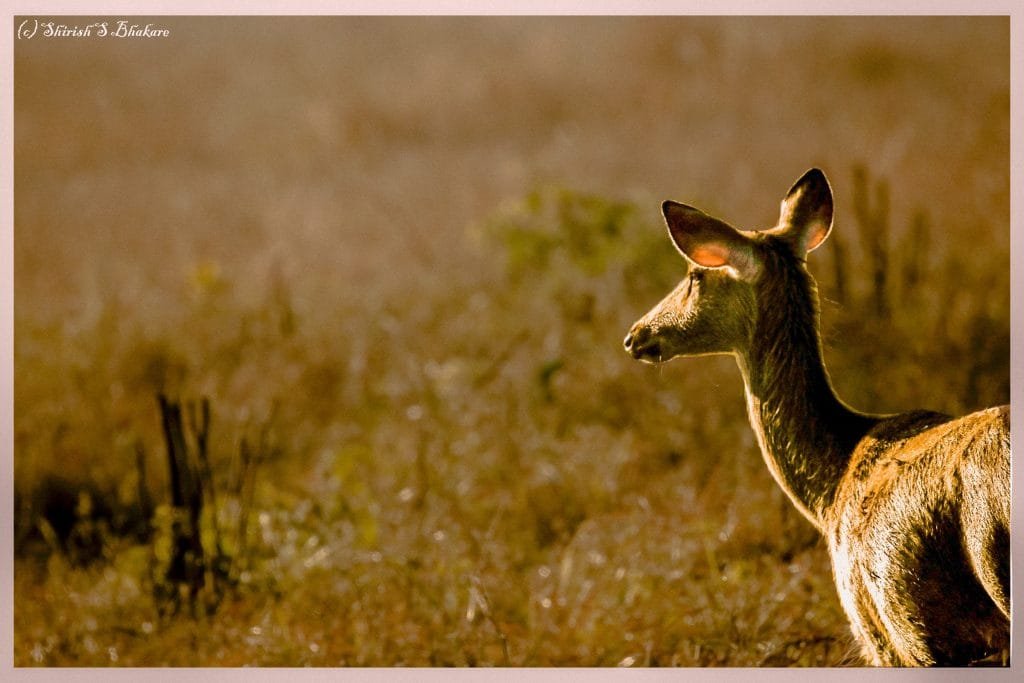
- Leading lines: Let’s say tiger is walking on road and you want to showcase the walk. Make sure you include the road along with tiger.
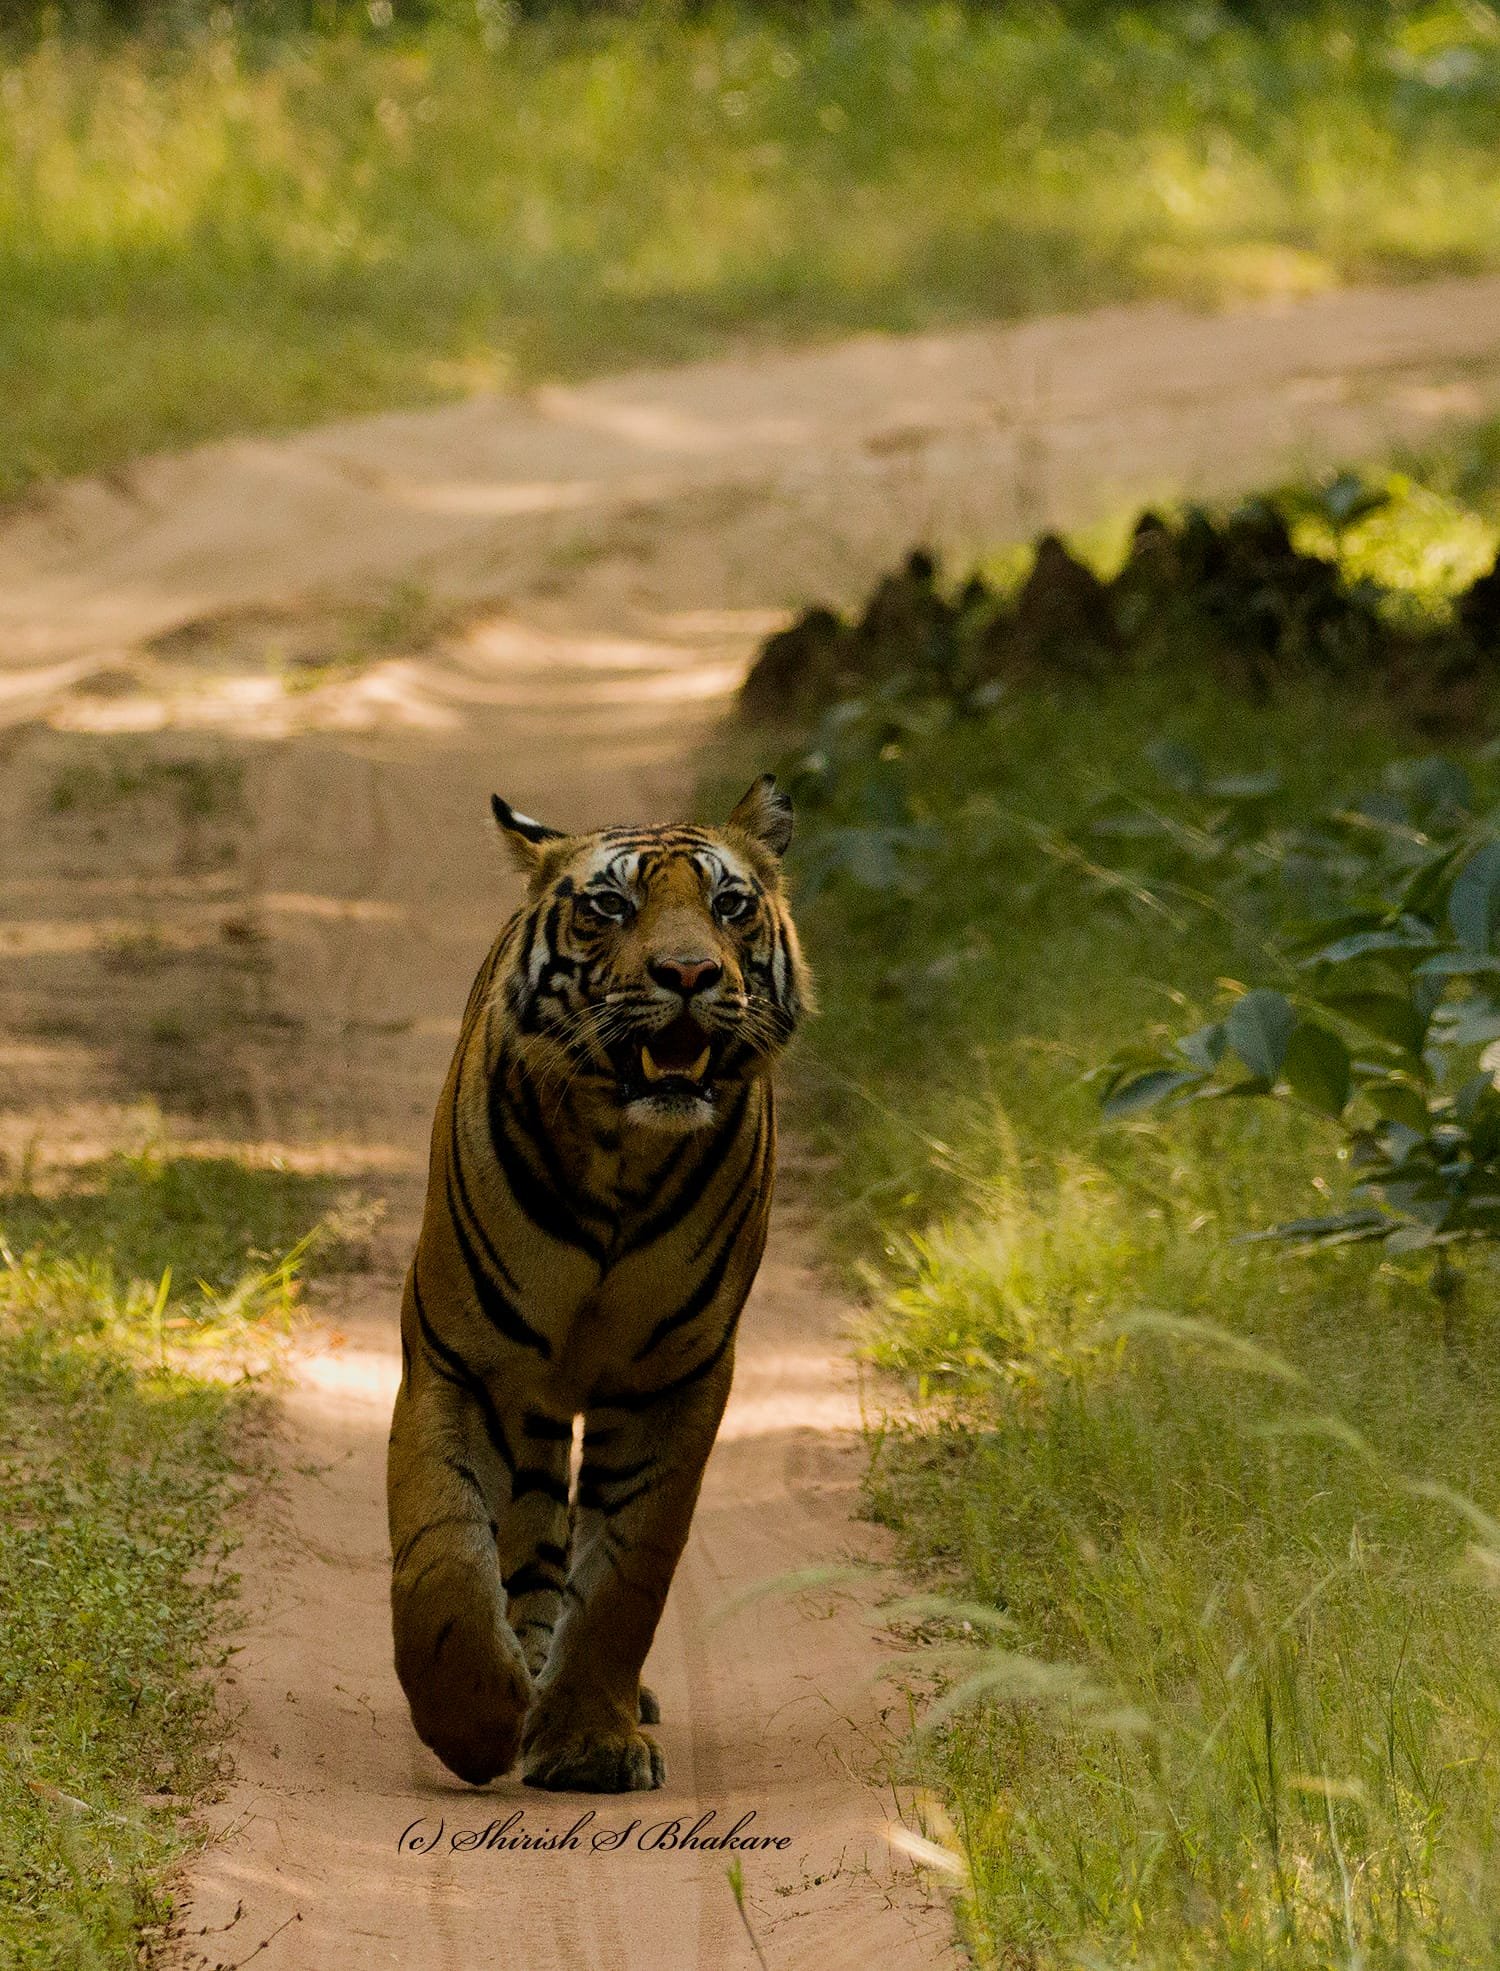
Bandhavgarh November 2017 (c) Shirish Bhakare
- Look for patterns: Patterns make subjects look unique. Look for them.

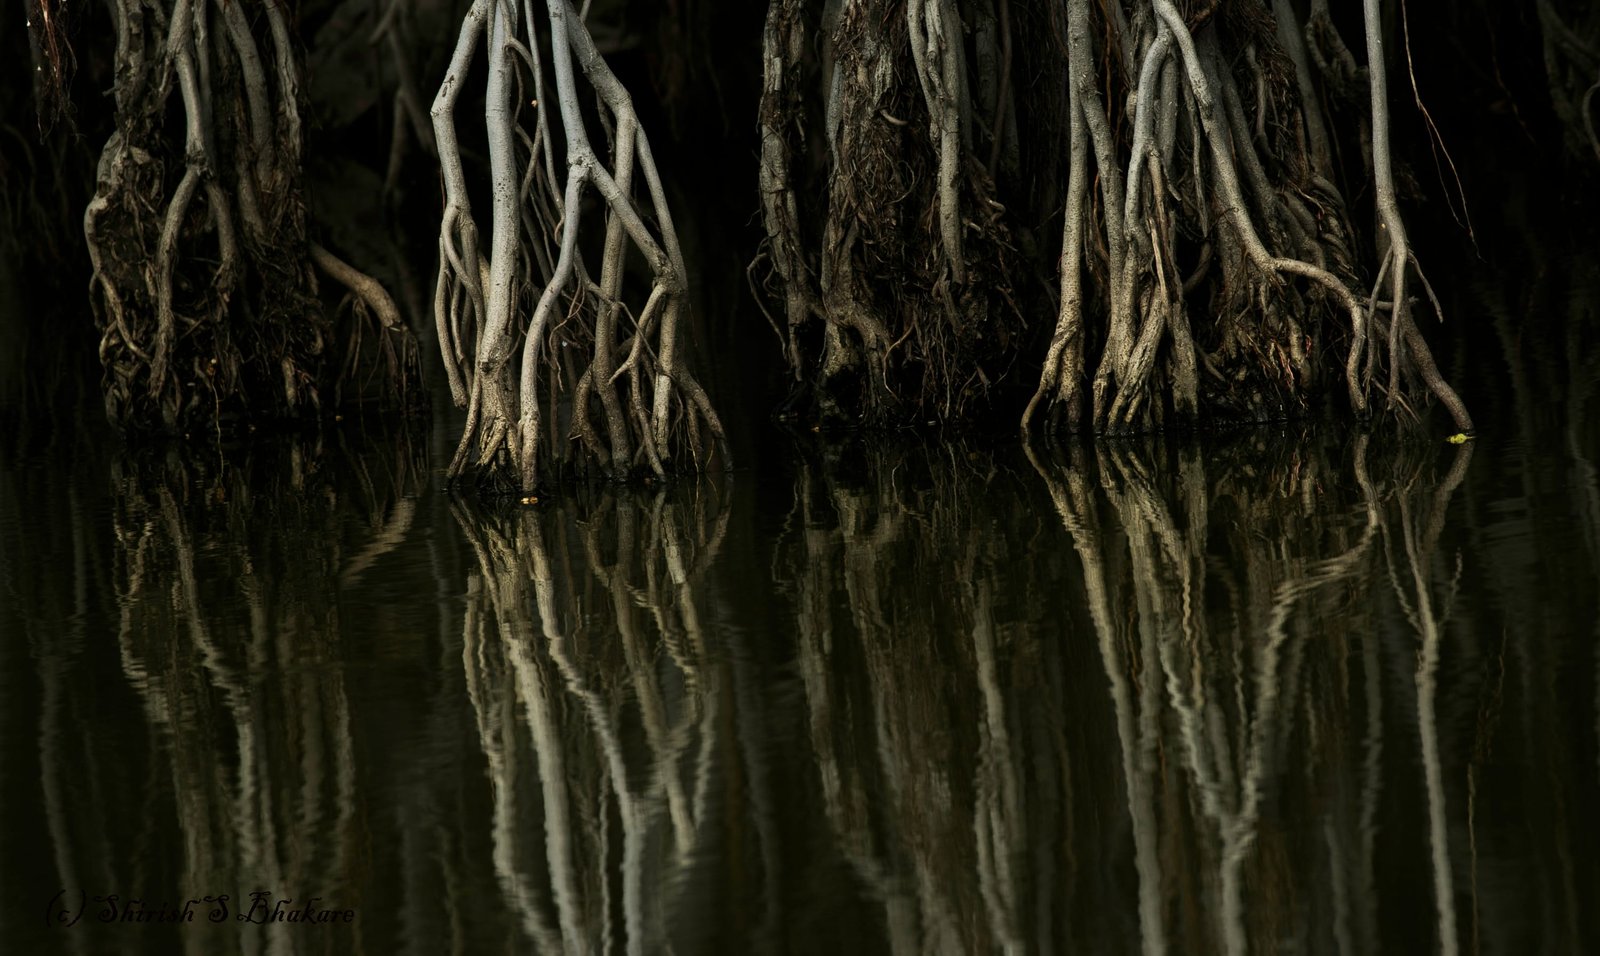
- Create story: Every image should convey a story by itself. Thats what photography is all about. It should give feel of the moment. Unless you want to shoot portraits and close ups then it’s a different. Whatever you shoot, don’t just shoot for sake of shooting. Visualize how you want to tell story then shoot. Stop- Think then press shutter button.
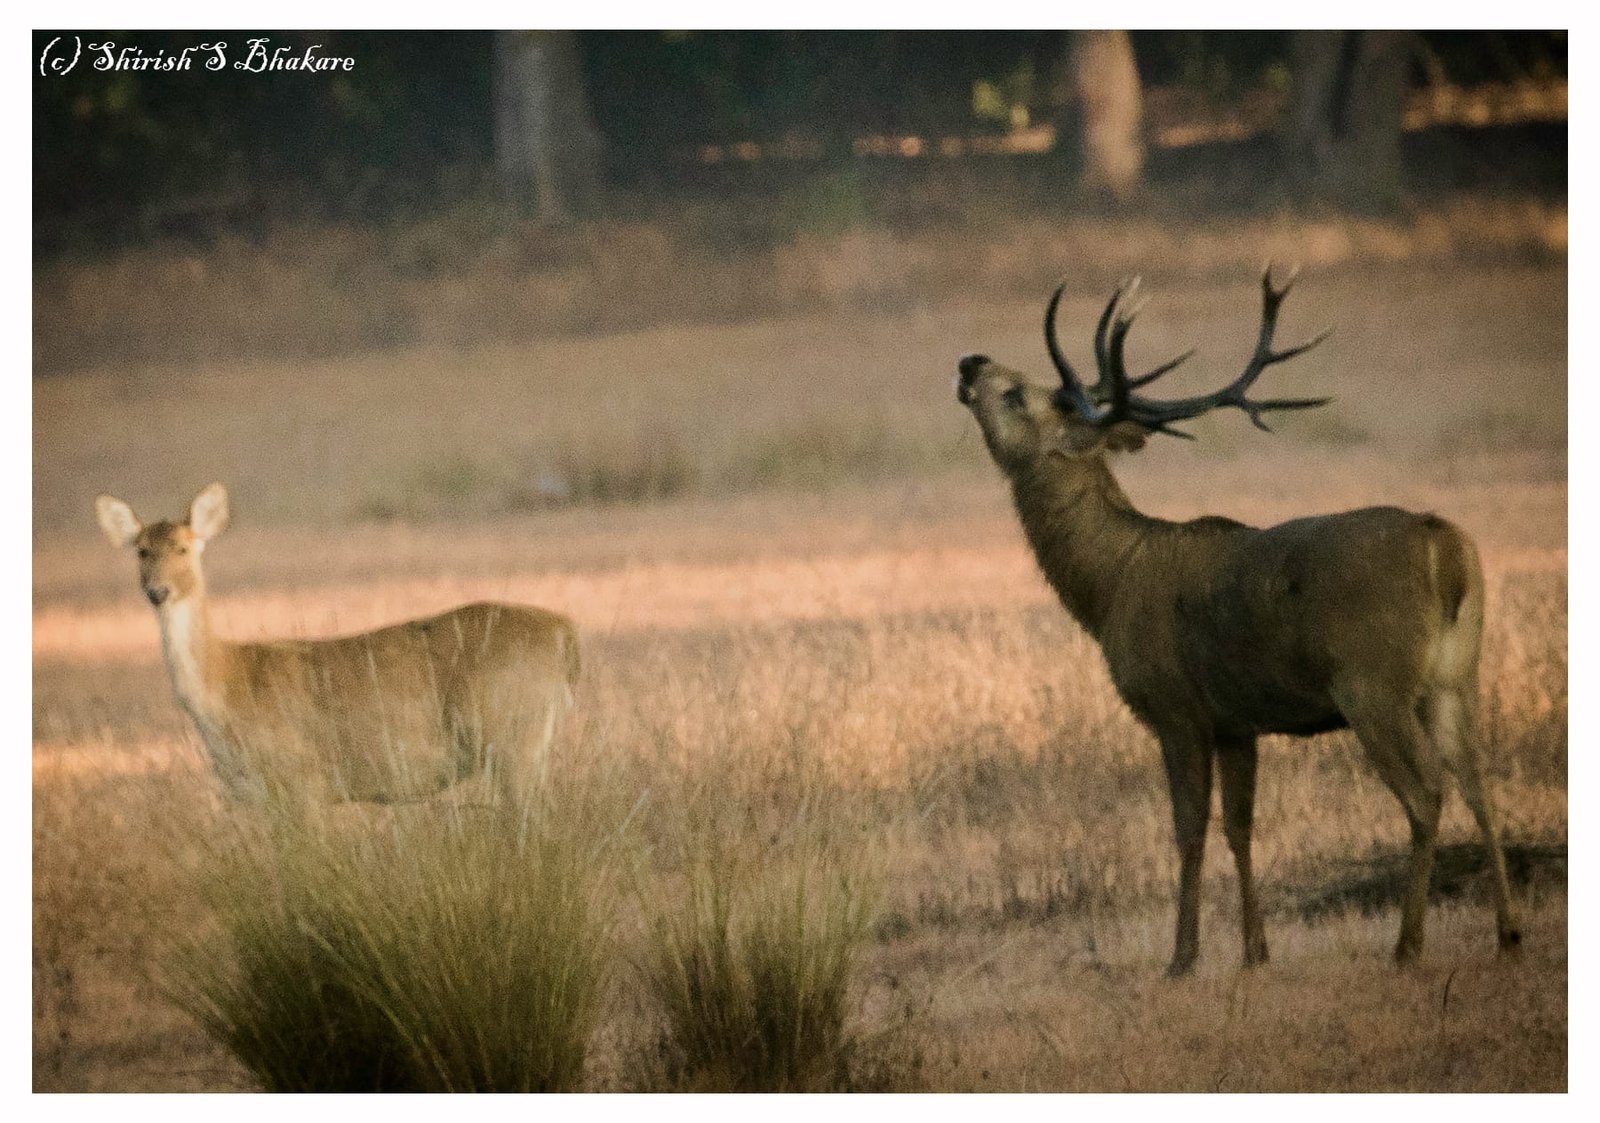
(c) Shirish S Bhakare
Rule 6 – Love for animals/Understanding animal behaviour and forest
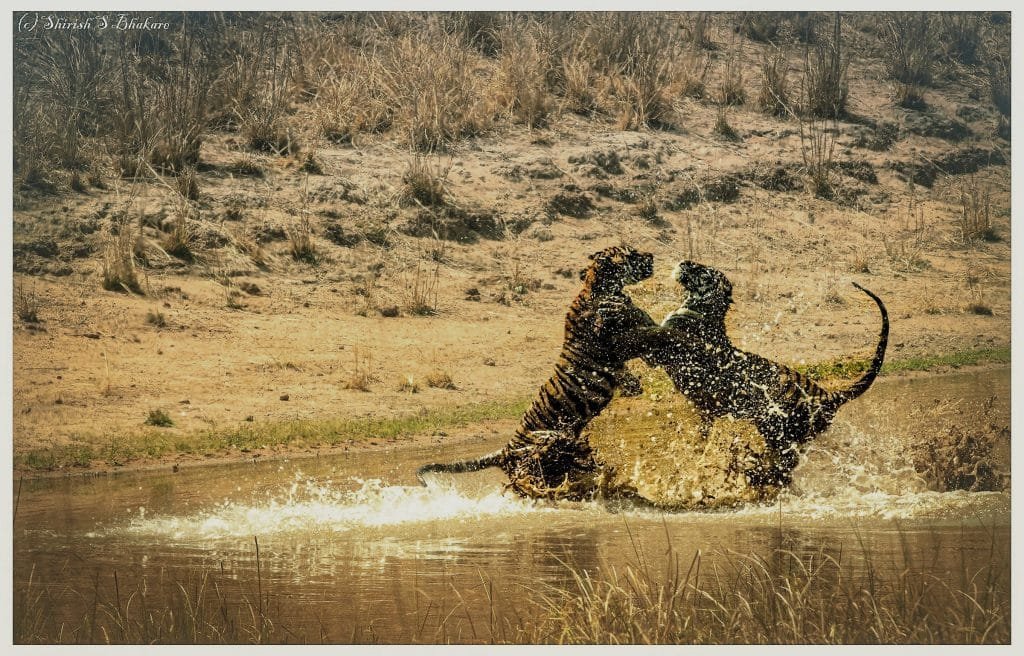
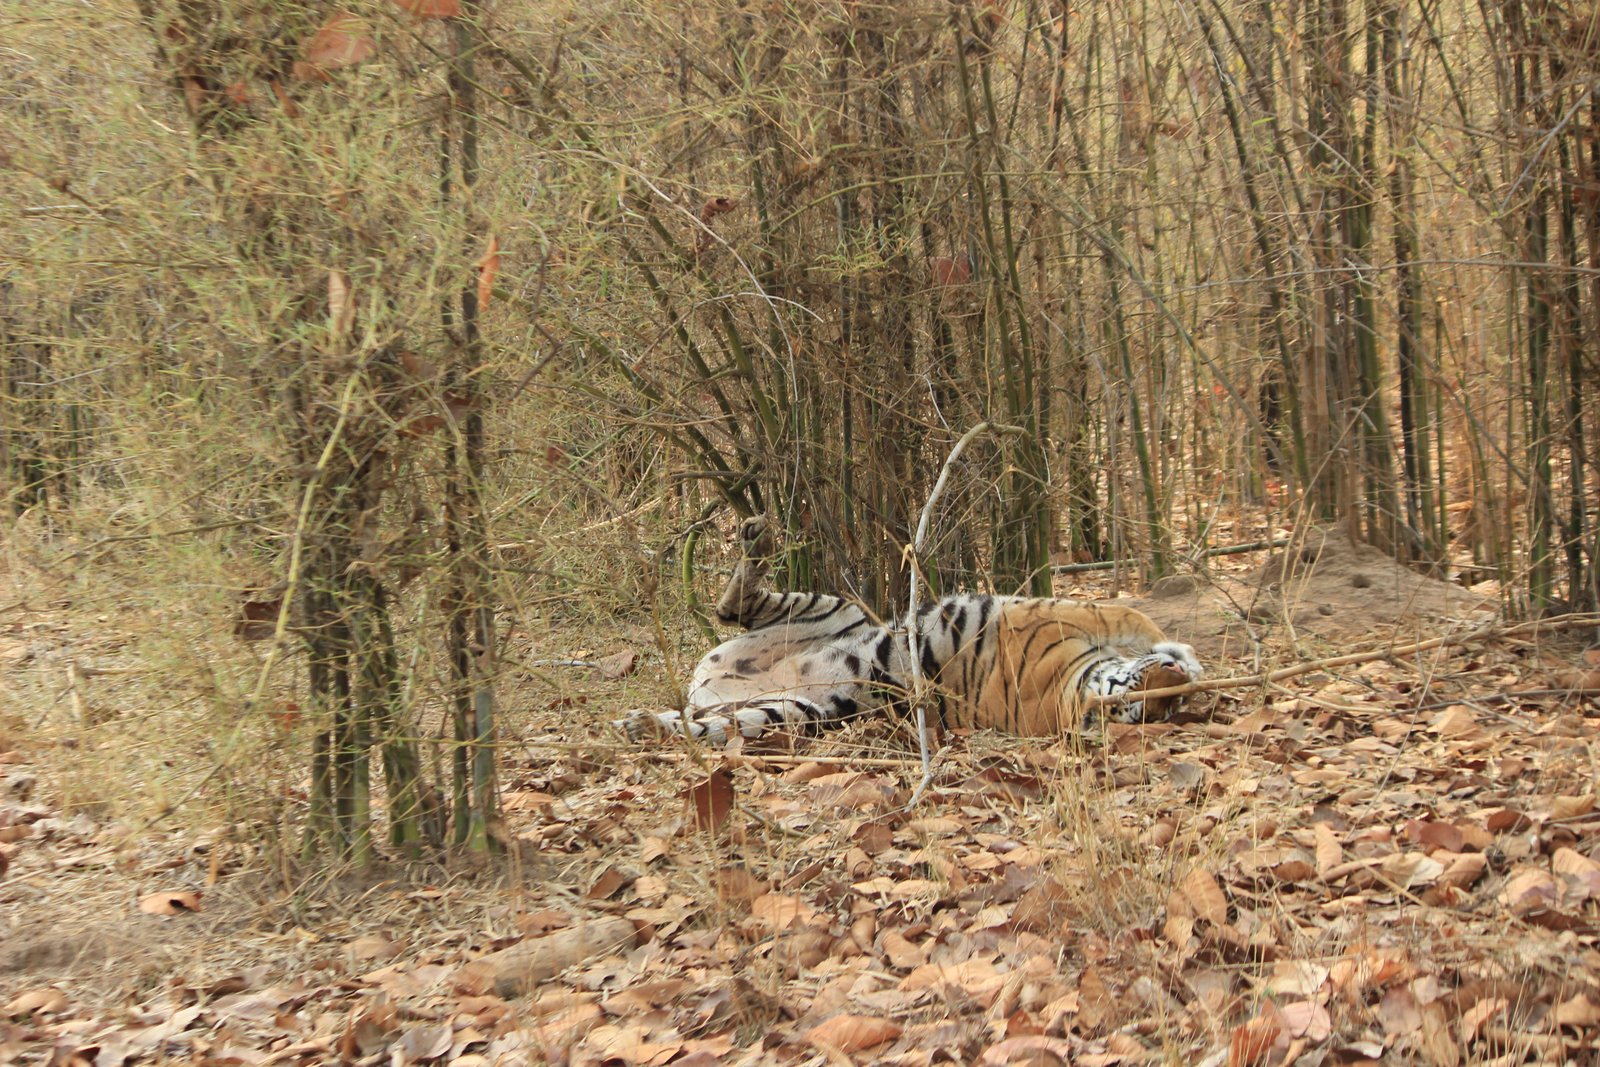
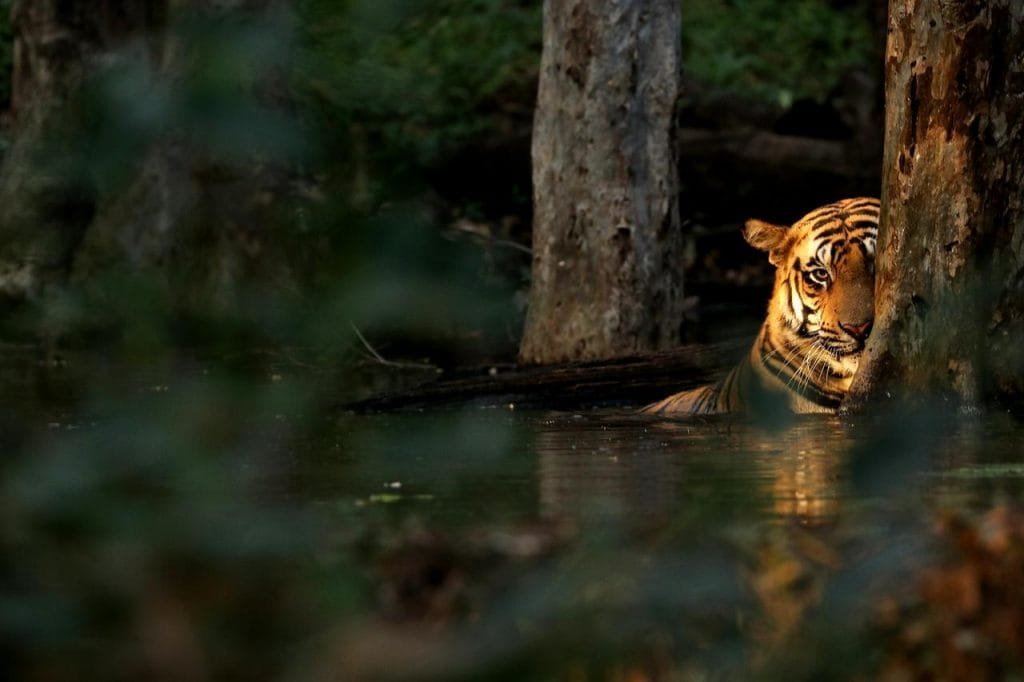
To shoot in wild you need to have decent knowledge of animal behaviour. For example a tiger sitting in water pool during hot summer day, under shade, will be at same place for hours on. Tigers love water. Thats why it’s so easy spotting them in summers.
Another example with tiger around, jungle becomes alive unless he wants to go unnoticed. All animals alert other animal for presence of predators. Sambar deer, chital deer, monkey, peacock and the likes. While a sambar deer alert call is sure sign of tiger presence a peacock call might be also for snake or mongoose. So observe closely and listen carefully. Jungle is full of signs.
Rule 7 – Patience

Corbett April 2016
(c) Shirish S Bhakare
The last one for now but I think this is the golden rule. The reason why I call it golden rule is because. Unlike most of the other forms of photography, you can’t control the animal behaviour nor the climate nor light. You are at mercy of your luck and animals mood. Patience is key. I distinctly remember having waited at one place for almost 2 hours just to get shot of tiger in particular angle. When almost everybody had left and male tiger got space that is when tiger moved out.
So these were 7 fundamental rules to implement while shooting wildlife. We will talk more about technicalities in blogs to come. For now enjoy shooting the wild spirits. Happy clicking!
