Thank you for overwhelming response for Part 1 of blog on wildlife photography.
Based on recommendations, I will surely explore the idea of making a video on same. For now, request you to keep your device handy so that we can smoothly transit Part 2 of Basics of wildlife photography. If you haven’t read Part 1, I would request you to do the same so that we all are in same flow. Part 1 was published last week and we discussed about adjusting white balance and exposure triangle which consisted of Aperture value, Shutter speed and ISO.
Okay so here we get into Part 2. The third rule here is the “Focus” . if focus is achieved well along with other parameters, you will get the sharp images you are trying to compose.
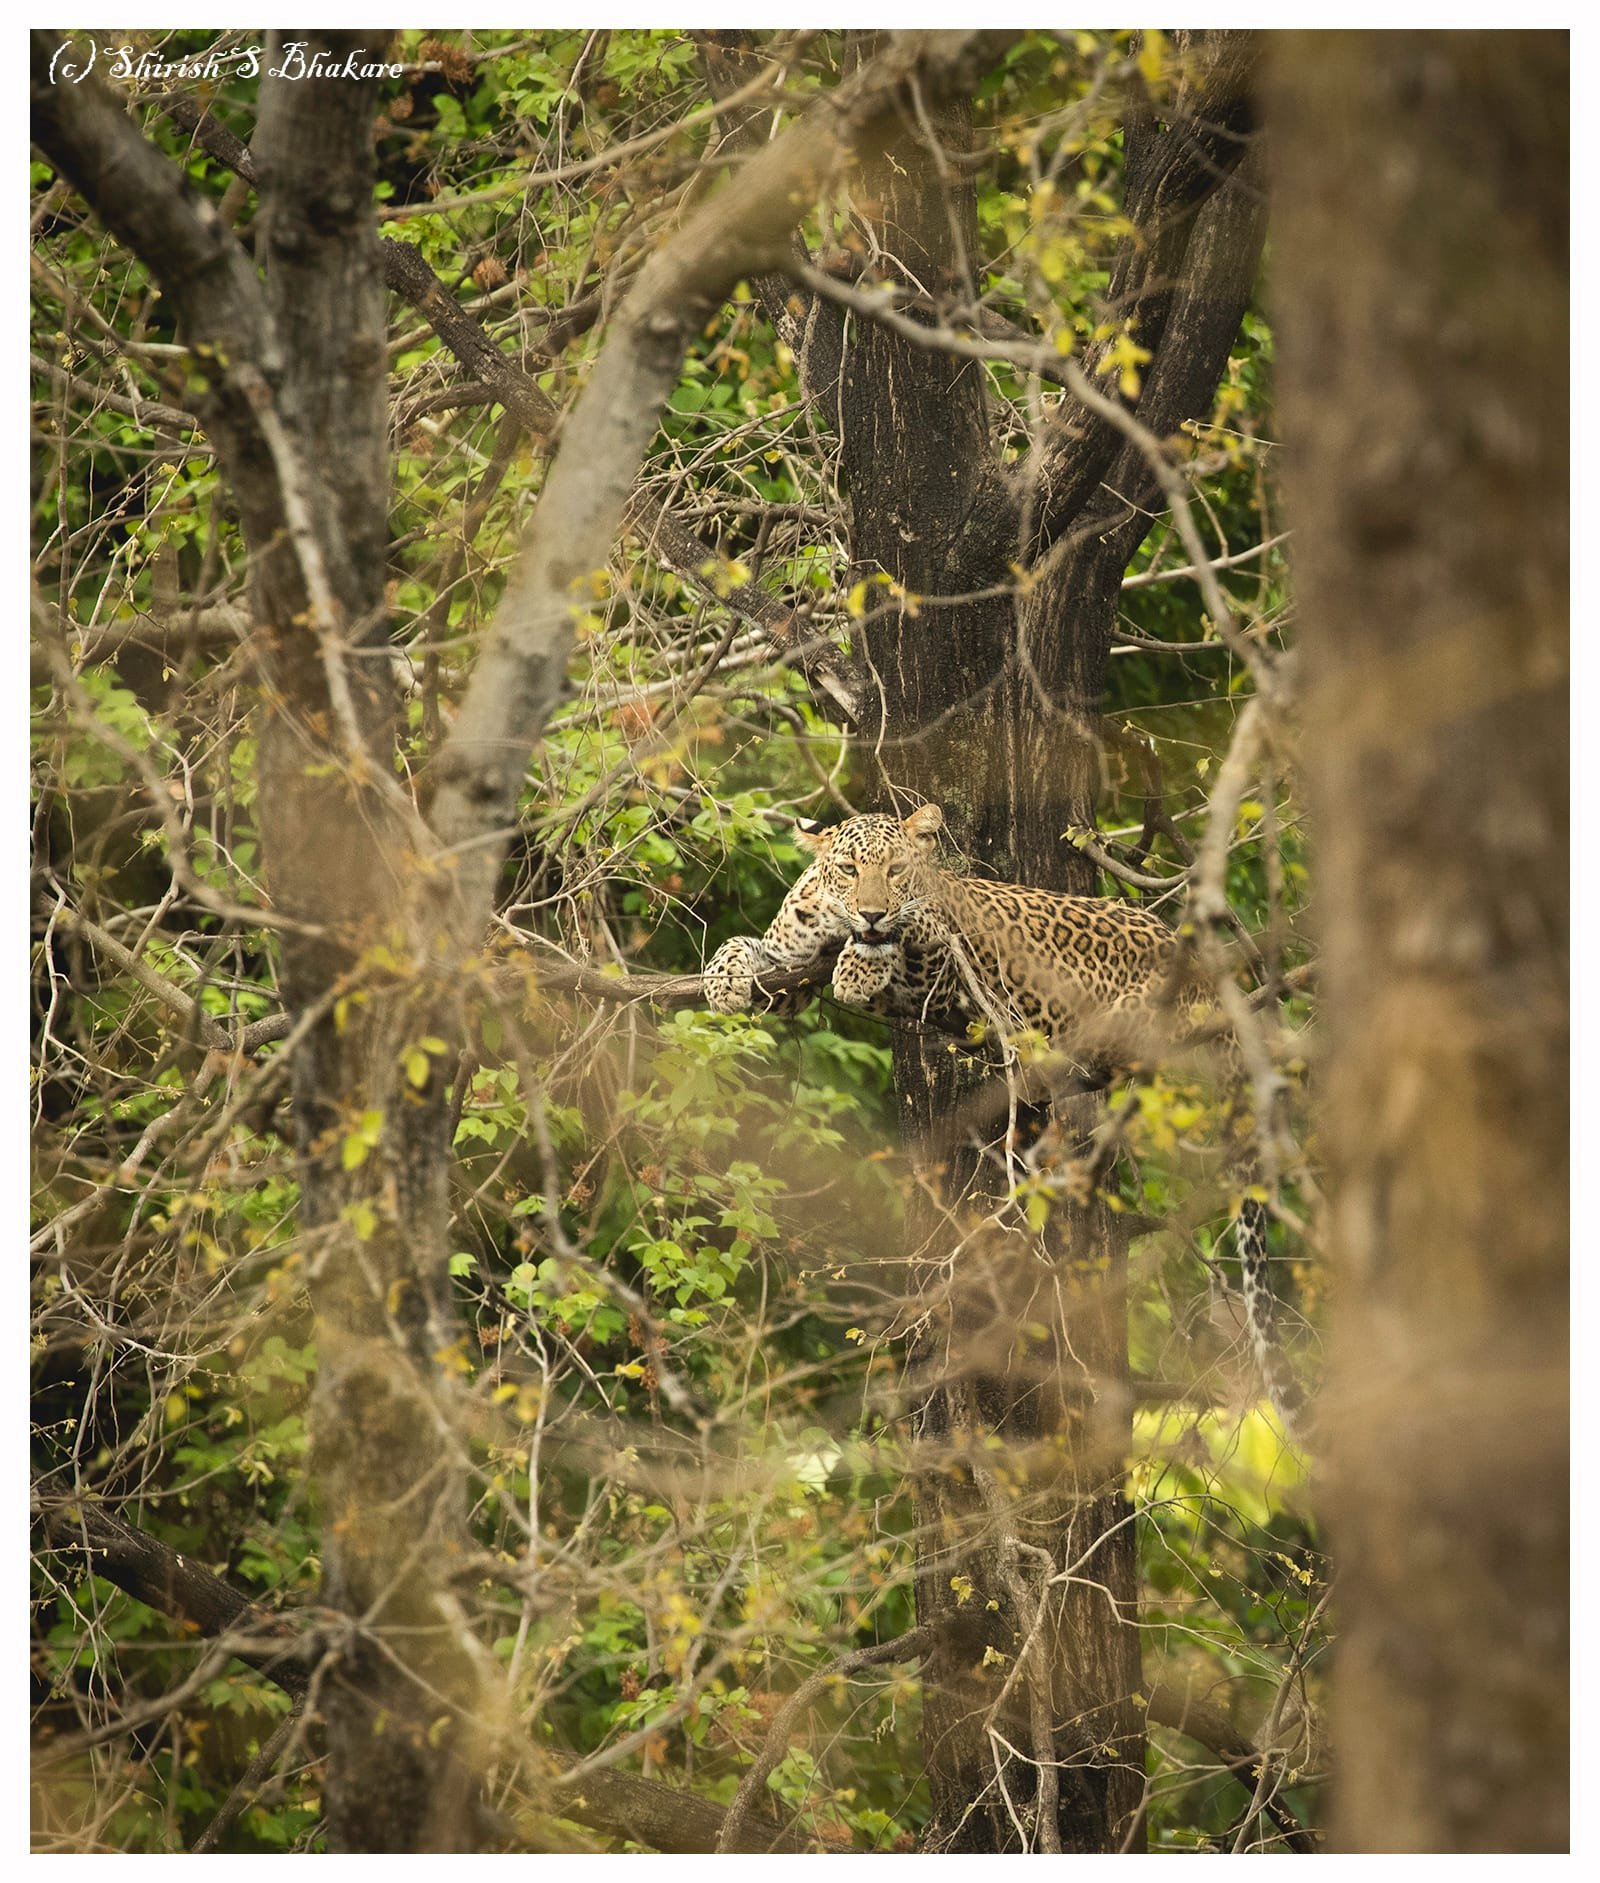
I am sure as beginner you must have noticed at times while trying to click a photo in Auto focus mode, the lens goes on making a buzzing sound and does not let you click photo. The shutter release button gets inactive and thus you lose the shot. This phenomenon is called hunting. Your camera hunts the scene because it can not make out “what to focus on”. This can happen for multiple reasons like dense foliage, low light etc. To avoid hunting, we need to understand two things- Focusing operations(One-shot, AI Servi, AI Auto) and different types of focusing options.
Let us talk about focusing operations first.

ONE SHOT auto focus is most common type of focusing. It is used for still subjects like landscapes, portraits etc where no action is involved. Here the camera focuses on the subject takes one photo and starts refocusing then clicks next photo. It consumes time in focusing refocusing. This may lead to blur photos in wildlife in case the scene is full of action. The other type is AI SERVO auto focus is used when you want multiple photos to be shot without changing focus points. It is a very rapid movement of shutter. It works well when exposure triangle parameters are apt. AI FOCUS is another auto focusing function wherein once focus is achieved only one shot is taken and if the subject moves the focusing mode changes to AI servo with a change in viewfinder details. This is also very handy in wildlife photography but better avoided because a slight lag of few microseconds will destroy the image. So always go for AI Servo for wildlife photography.
I will summarize above discussion by mentioning the line I read somewhere on internet long ago. (That’s how I remember the concept)
- One-Shot is for when neither you, nor the subject, are moving – Landscapes/Stationary animals
- AI Servo is for when either you, or the subject, is moving. – Wildlife action
- AI Focus is for when neither you, nor the subject care if your focus is accurate – No of much use 😛
Let us talk about focusing options now. In every camera when you are about to click you will see some spots highlighting. Those spots represent focus areas. Make sure you always focus on subjects eyes. As you move from entry-level to mid to professional level camera the focus points will increase. All camera will have a minimum of three focusing options. These days we get camera’s which are capable of tracking animal eyes too 🙂

Single point focus in this mode camera will focus only on focus point selected. The use case is when the tiger is sitting in thickets and you can hardly see him. Another default option is complete scene focus in this all focus points are given equal priority and one with highest contrasts gets focused. Generally, the central point is quickly focused in this setting. Avoid using many/all focus points at one go. Since here you are not in control of what to focus and what not to focus your subject will lose sharpness. The most popular one is the Focus area expansion mode. For advanced cameras, under this area selection, you will have multiple setups to choose from. This is the most useful format for wildlife shooting.
That’s all for now folks. Based on the recommendations, I will keep topic focused short for easier understanding of topic. Hope this blog assists you with some more understanding of your DSLR. As I always say, it’s all about practice on field, so go out and practice. For more information on wildlife trips and photography information you can contact spiritsofwild from our website or connect to us on instagram and facebook. Till we meet again for Part 3, happy clicking!
Put together really well with clear go to tips. Well done shirish. This was quite informative. Keep them coming.